This guide will cover how to create groups of drivers using the Fuuse web portal. Groups can be used to organise users allowing you to easily apply user access control profiles to them.
Contents:
- Drivers Section
- Groups of Drivers
- Name Your Group
- Add Drivers
- View New Driver Group
- Editing a Group
1. Drivers Section
To get started, click the arrow beside "Drivers" from the navigation menu to open up that section.
Click "Driver Groups" from the expanded menu.

2. Driver Groups
Any previously created groups will be displayed in the 'list of groups'
To create a new group, click the "Add New Group" button.

3. Name Your Group
In the text box below "Group Name", enter a descriptive and memorable name for this group of drivers that will distinguish it from any others you might have.
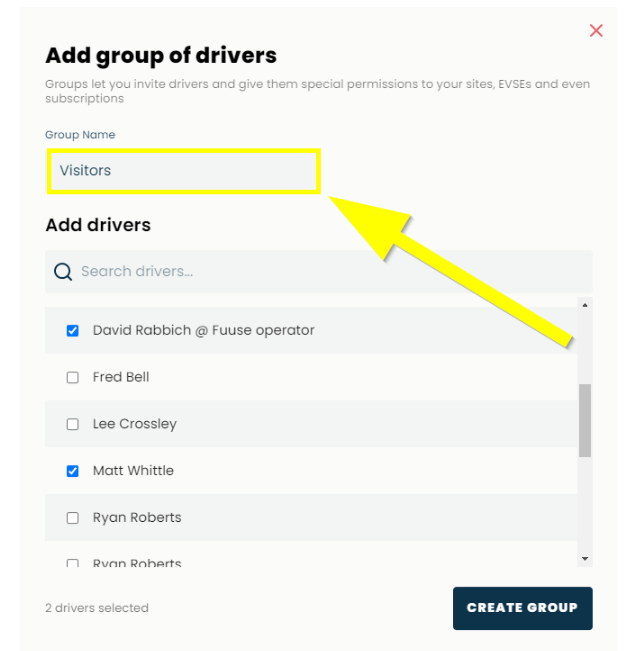
4. Add Drivers
A list of all of your drivers will be shown.
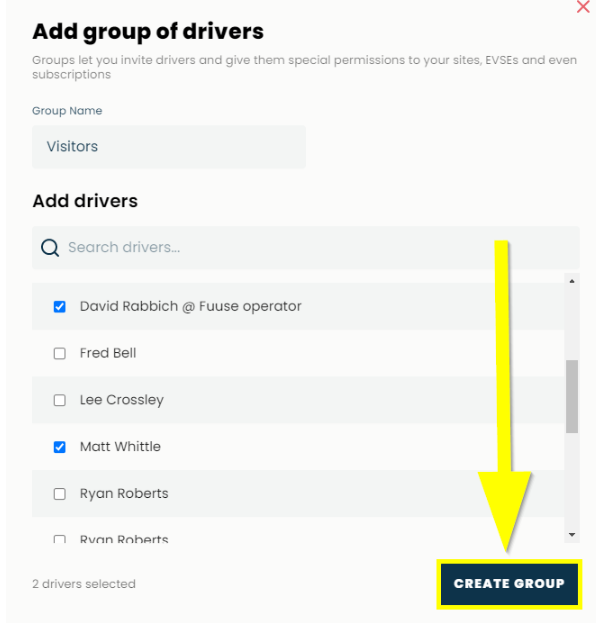
Check the box next to each driver you want to include in the group.
If you have a large number of drivers on your system, use the search box provided to find specific people.
When you have all of your drivers selected, click the "Create Group" button.
5. View New Driver Group
Your new driver group will now display in the list with any previously created groups.
If you wish to view or edit a group, click the "See Details" button.

6. Editing a Group
Here you can see all the drivers currently in this group and the access control profiles this group has been added to.
Clicking the "See Details" button next to the drivers name will take you to the details of that particular driver. The details include all the groups the driver has been added to, any RFID cards assigned to that driver if applicable and sessions they have carried out across your network.
You can add more drivers by clicking the "Add Drivers" button at the top and repeating the steps above.
