This article walks you through the steps of onboarding Garo chargers.
Connecting to the charger
To connect to the charger, please follow the instructions supplied with the Garo charger. If you haven't been through it yet, the Garo "Learn online" portal is a great resource for instructions on connecting to and using a Garo unit.
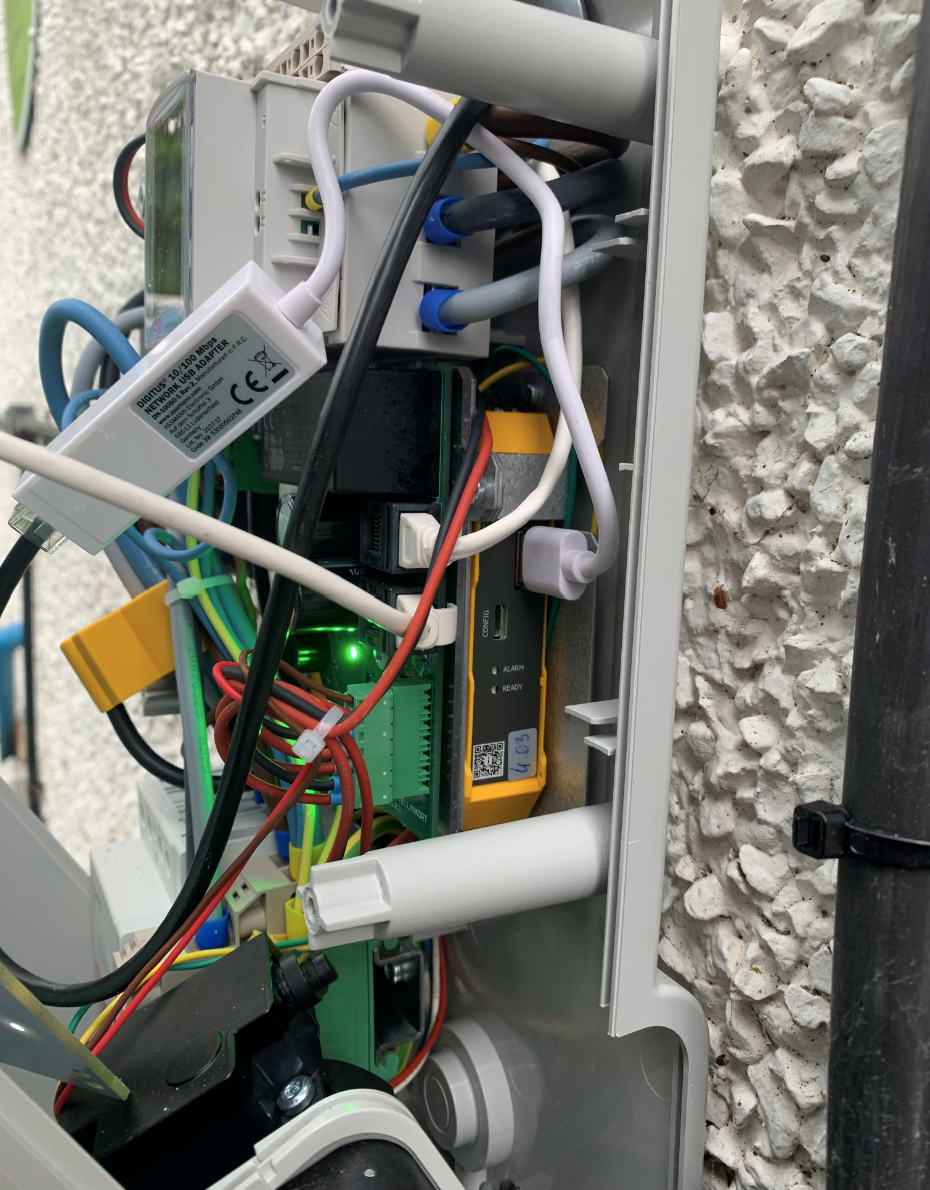
Older Garo EVSEs are communicated with via ethernet. Inside the new units you will need to connect via USB connected to the port marked 'CONFIG'. If the unit has an RFID reader you'll need to gently pull this out of its slots to reveal the port on the side of the hub.
Once connected to the unit, you will find that the interface for the unit is accessed via a web browser at the following location: http://192.168.123.123 (see Garo supplied instructions for exact address). If the page shown below doesn't load immediately then you are probably connecting via the wrong port (see above).
Enter the username and password for the unit to gain entry to the configuration portal for the charger. You may need to phone Garo technical support for the current details - 0121 3899 444 option 3.
Commission the Charger in Fuuse
Before you connect the charger to Fuuse, ensure that you have pre-commissioned the charger in the Fuuse portal so that the charger is paired correctly with a charger in your account.
To do that, please follow the guide on setting up chargers in Fuuse.
Configure the charger
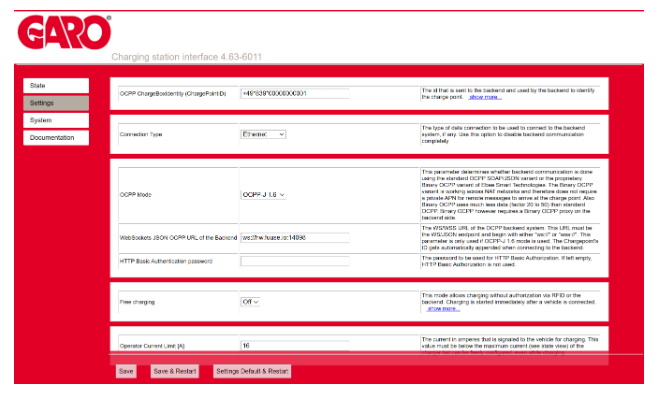
Once connected to the unit you should be presented with an interface like the above. Change to the settings panel to alter the configuration.
Charger ID
Change the "OCPP ChargeBox Identity" field to something identifiable as this is the code that will be used to pair the unit to a charger provisioned in the portal. This should be the same identifier you used to set up the charger earlier in the process within Fuuse. Each socket needs its own individual ID (with the identifier set to '1' in Fuuse).
Websocket URL
Within the charger hardware configuration, set the "Websocket OCPP JSON URL" to point to the following address.
wss://hw.fuuse.io:9999
Ensure the OCPP Mode is set to OCPP-J 1.6.
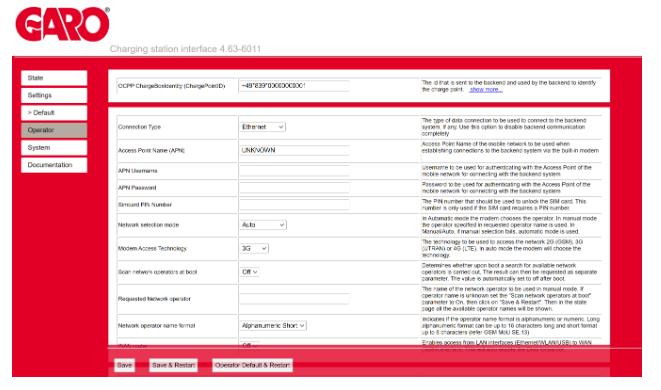
APN (SIM card) settings (optional)
If your unit is connecting to the internet via SIM card, ensure that you have entered the APN settings for your SIM card into the settings below. This may require you to have admin permissions on the unit to change the settings.
The APN settings are typically obtained from the provider of the SIM card.
Finishing up
Now that you have entered the details required, the state screen of the charger configuration portal should indicate whether or not the unit is connected to Fuuse.