How to add new users to your organisation in the Fuuse web portal and view all previously created ones.
Contents:
- Organisation Tab
- Users Screen
- Add User's Name, Email and Admin Level
- Save User
1. Organisation Tab
To get started, click the arrow beside "Organisation" from the navigation menu to open up that section.
Click "Users" from the expanded menu.

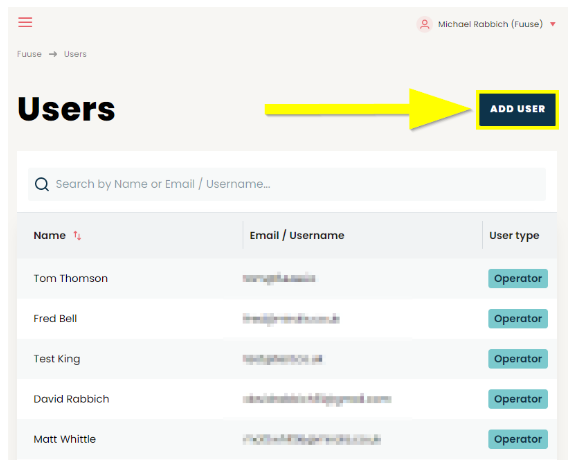
2. Users Screen
Here you will find a list of all previously created users. If you have a lot of users, they will be separated into multiple pages.
Click the "Add User" button to begin adding a new user.
3. Add User Details
You can add the details of your new user in the pop up.
- Enter the name of the user in the box provided under "Name". This would normally be the users real name to help distinguish one from another, not a username for logging in
- Add an email for your new user in the box under "Email / Username"
- This will be used as the user's username for the purposes of logging in
- Select the required user admin level from the drop down box
 There is guide to the different Admin levels here:
User Based Permissions - A Guide to What Each User Type Can See & Do (fuuse.io)
4. Save New User
Once you have entered all of the details for your new user, click the "Add User" button to save it.
You will now be returned to the users screen where you will find your new user in the list with all previously created users.
